User Experience (UX) Design Process
User experience design is a process that puts a user front and center when designing a product. In other words, it comes up with designs that define your user's experience with the product. UX design aims to create useful, usable and equitable products for all users.
UX design process typically consists of 5 stages.
1. Identify the problem
Before designing and launching any product, designers need to identify the problem that needs to be solved. In order to identify the problem, they usually conduct UX research to empathize with users. Empathizing with users means "putting yourself in their shoes." One of the key principles in UX design is that you need to identify users' actual needs and preferences instead of going ahead with your assumptions of what they need and prefer. In this stage of the UX design process, designers utilize various quantitative and qualitative data collection methods to empathize with users. With all the data analyzed, designers create user personas, user stories, and journey maps.
2. Propose a solution
After defining the problem, it's time to brainstorm and come up with ideas to solve it. Depending on the size of the company, various departments can participate in this stage of the design process. The team carries out different activities to come up with different ideas. They use "crazy eights", "how might we", mindmapping, gamestorming and other methods to propose their solution to a problem. There is no right or wrong during this stage, as the main goal is to create as many ideas as possible. Sometimes even the craziest idea can actually be effective against certain problems the team wants to solve.
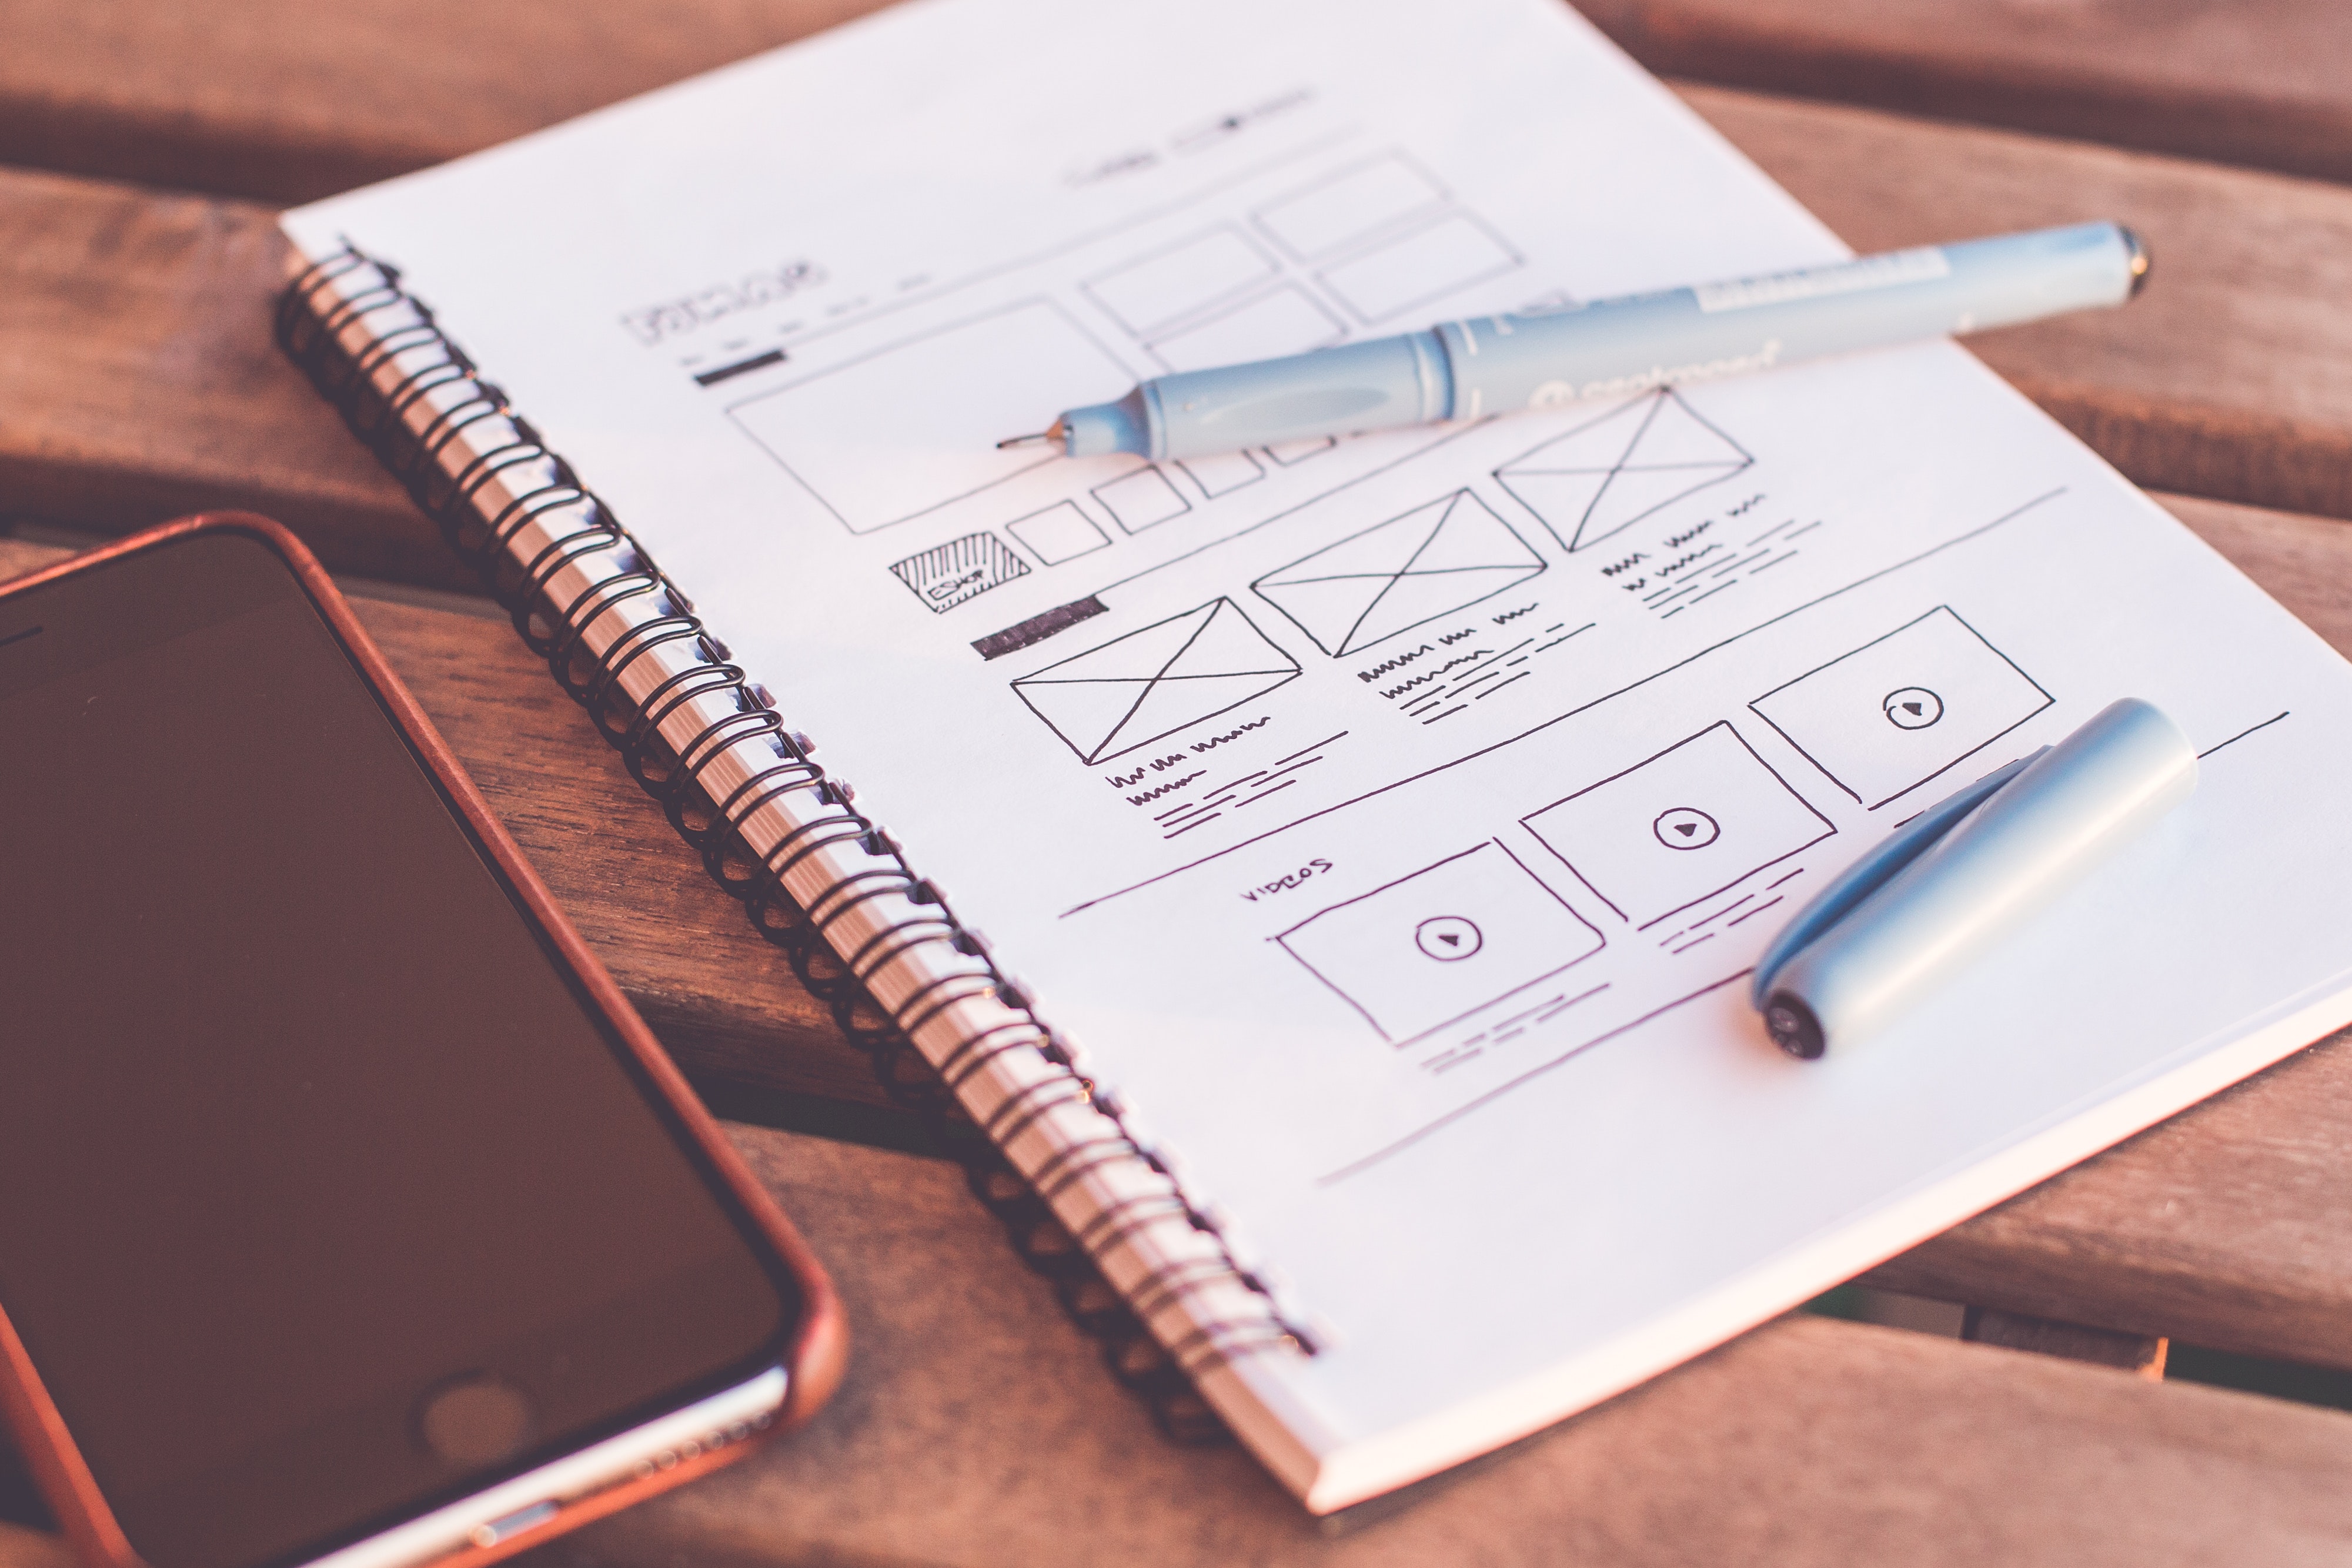
3. Prototype
As soon as designers and other team members define solutions, designers start building the solutions. In this stage, they create prototypes that resemble the final product. They usually build two types of prototypes. The first one is called a low-fidelity prototype that's mostly in black and white, and uses basic shapes and lines for pictures, buttons and text. One of the reasons designers create low-fidelity prototypes first is that they are easier to build and don't require much time. On the other hand, high-fidelity prototypes represent the final product with different colors, pictures, real text, etc.
4. Test
After low-fidelity prototypes are ready, designers conduct the first round of usability testing to test the prototype functionality and user experience. One of the benefits of low-fidelity prototypes is that it's easier to iterate on them than on high-fidelity prototypes. As soon as designers analyze usability study findings and turn them into actionable insights, they apply those insights to prototypes and create high-fidelity prototypes. It's worth mentioning that it isn't a thumb rule to have one usability test and apply its results to low-fidelity prototypes and then create high-fidelity of prototypes. You can have as much usability as you need after low-fidelity and high-fidelity prototyping. As a matter of fact, it is encouraged to have several usability tests to ensure the high functionality of the final product.
5. Launch
After the final prototype is ready and usability testing is done, developers create and launch the final product. But it isn't the end. You can repeat the same design process steps any time, even after the product is launched. The design team monitors the user reviews, KPIs (key performance indicators) and other key factors that define the user experience and makes changes to the designs when necessary.